Blog

RMTT Proactive Services – Using Multiple monitors at home

Set Multiple Monitors as the default for Remote Desktop (you only need to do this once)

  • Open “Start” menu
  • Type: “remote” to help find Remote Desktop Connection
  • Select Remote Desktop Connection

Rocky Mountain Tech Team RMTT Proactive Services – Using Multiple monitors at home

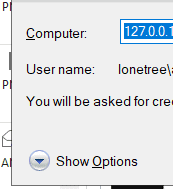
  • Select Show Options

Rocky Mountain Tech Team RMTT Proactive Services – Using Multiple monitors at home

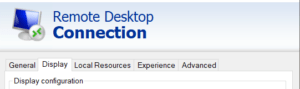
  • Select Display Tab

Rocky Mountain Tech Team RMTT Proactive Services – Using Multiple monitors at home

  • Check (or uncheck if only 1 monitor preferred) Use all Monitors
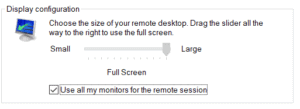
Rocky Mountain Tech Team RMTT Proactive Services – Using Multiple monitors at home

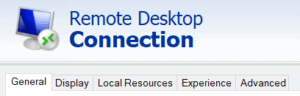
  • Go back to General tab

Rocky Mountain Tech Team RMTT Proactive Services – Using Multiple monitors at home

  • Select Save

Connect to Proactive using Remote Desktop

  • Click the green icon next to the computer you wish to remote onto

Rocky Mountain Tech Team RMTT Proactive Services – Using Multiple monitors at home

  • (First time only) – install the application TakeControl by clicking on the download link that pops up

Rocky Mountain Tech Team RMTT Proactive Services – Using Multiple monitors at home

  • Choose Open SolarWinds Take Control

Rocky Mountain Tech Team RMTT Proactive Services – Using Multiple monitors at home

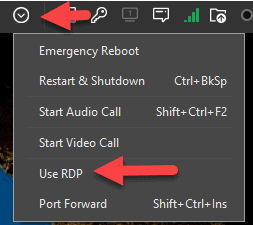
  • In the Drop Down, choose Use RDP

Rocky Mountain Tech Team RMTT Proactive Services – Using Multiple monitors at home

  • Click More choices and select Use a different account
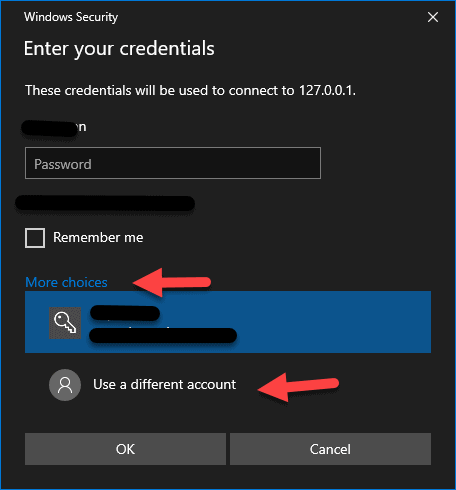
Rocky Mountain Tech Team RMTT Proactive Services – Using Multiple monitors at home

  • Type your domain\username and password as you normally do in the office (you can find this information under the logged in user when you’re logged into Proactive) and select OK
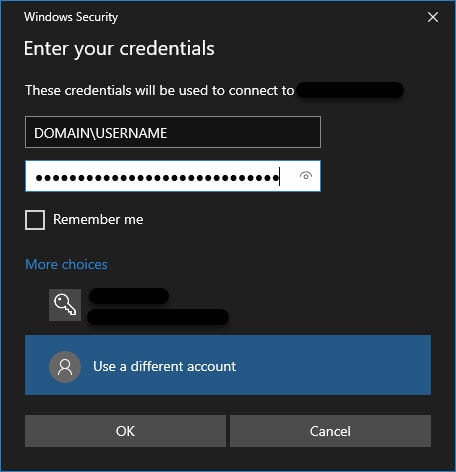
Rocky Mountain Tech Team RMTT Proactive Services – Using Multiple monitors at home

  • Accept the certificate error and feel free to choose don’t remind me and you will be connected to your computer